Sitecore Commerce 10 - Add Properties to the Composer Tool
We start the Walkthrough by adding properties to the Composer tool in the Sitecore Commerce Business tools
The following steps need to be executed:
- Create Template & View
- Add properties to the View
- Assign View to Sellable items and categories
- Update products with the new values
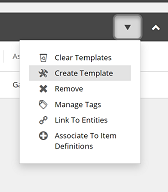
1. Create Template & View
For this example we will create some additional properties for the Camera Category.

| Name | Display Name | View Name | View Display Name |
|---|---|---|---|
| CameraTemplate | Camera Template | CameraView | Camera Properties |
The View Name is important, it is used to import the fields to the index later on.
2. Add properties to the newly created View
We are going to add 3 properties to the view.

| Name | Display Name | Type |
|---|---|---|
| Quality | Quality | String |
| Megapixels | Megapixels | Decimal |
| LensSize | Lens Size | String |
3. Assign View to Sellable items and categories
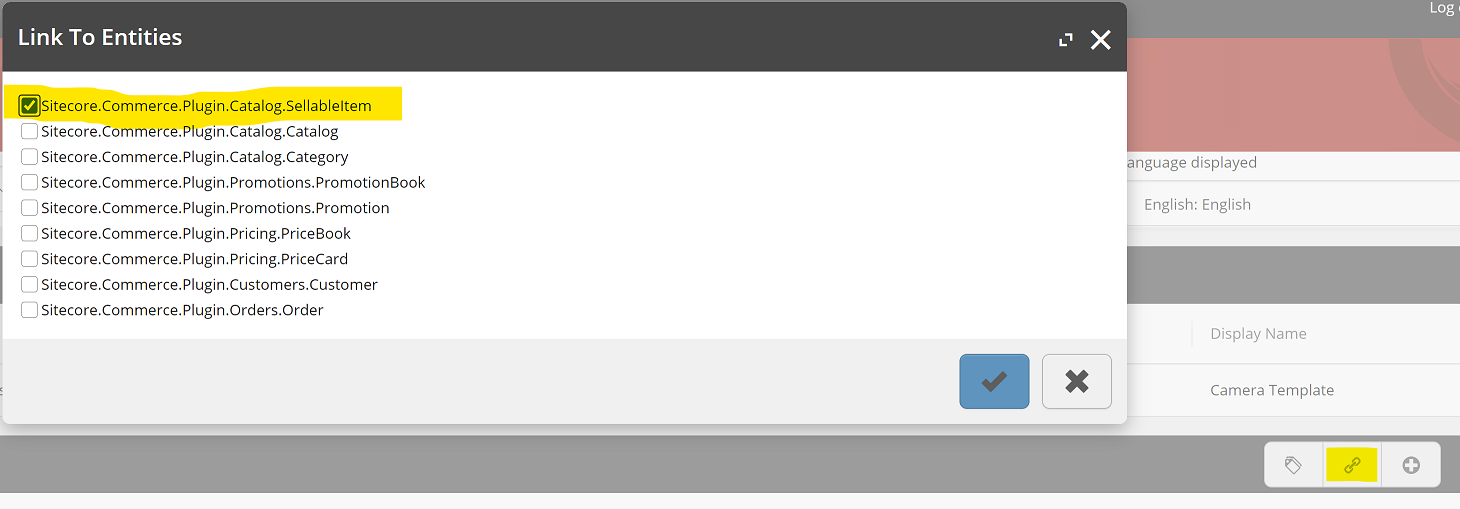
First we need to assign our newly created view to the sellable entity to make sure the new properties are assigned to the templates within Sitecore.

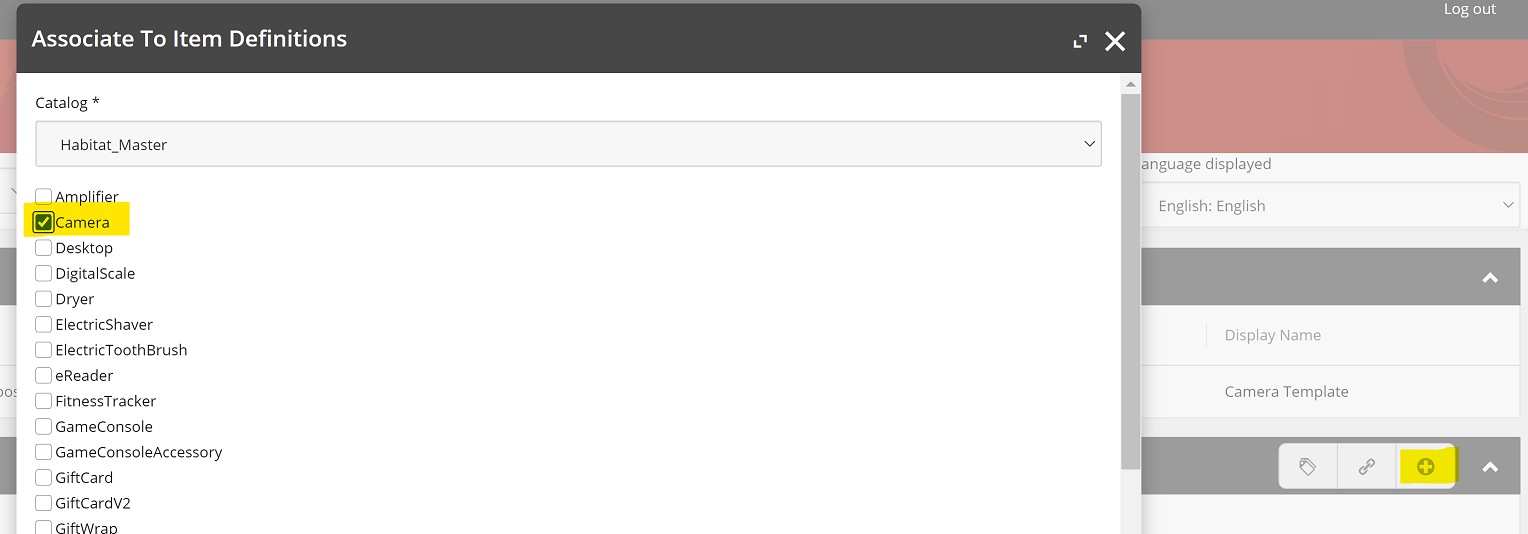
Second we need to associate the view with one or more item definitions to add the properties to products within the catalog.

4. Add values to the newly created properties
The final step is to add values to a couple of sellable items in your catalog.
When adding values to properties remember to first create a new version of the sellable entity.
 After the modifications are complete follow the workflow steps (twice).

Try to save a couple of product id’s which you have updated, for future reference checks.
Now we are all set with the Business Tools, the next steps will described here:
This post is part of a walkthrough: Add custom properties for facets